
It was that time of the week when the need for a little sweetness kicked in (hard!), and with dad away it didn’t seem quite right to make the caramel popcorn that has shot to the top of his list of favourites. (He remembers eating it as Crackerjacks in his early childhood many years ago and is just loving having it around again.) But, with the jar of Almond Brittle now looking like this
not making anything was not an option. After getting caught up watching a sweet romantic comedy (to offset a morning of good hard rugby), it needed to be quick and easy and using ingredients we definitely had in the kitchen, preferably not too many. After mum and I paged through a whole lot of recipe books and torn out magazine pages, I decided it would be coconut ice – and I specifically wanted to make the more traditional version, without condensed milk.
Mom popped up with a recipe from the Your Family Magazine of July 1988 at about the same time I found one on Nigella’s website, which had the same ingredient list but in different quantities. The given techniques were a bit different, and I combined a bit of each in my attempt, and it all seemed to work out really well. So, here is my coconut ice recipe and method. It took 47 minutes to make, and 2.5 hours to set.
Makes +/- 40 pieces
Ingredients
720g sugar
150ml water
150ml milk (I used fat free, because it’s what we drink)
150g dessicated coconut
A few drops of pink food colouring (emphasis on “a few” – man, this stuff is intense!)
Tools
20×20 cm baking tin
Non-stick spray
Wooden spoon
Large pot (You’ll see on the pictures that this mixture boils “up”. My 3l pot was just big enough to ensure “up” didn’t become “over”.)
Butter knife (for spreading in the tin)
Cutting board
Sharp knife
Method
- Spray the baking tin with non-stick spray and set aside.
-
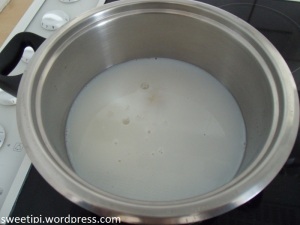
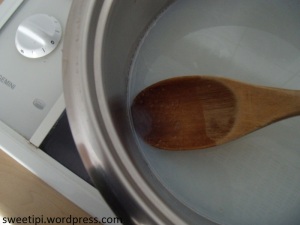
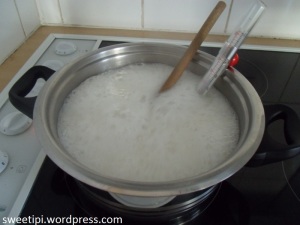
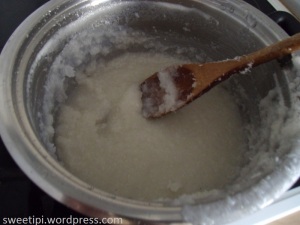
Place the sugar, water and milk in the pot and heat on low heat (number 2) on the stove, stirring gently until all the sugar has dissolved and it starts to boil – about 12-15 minutes. With the milk, it is difficult to see when the sugar is dissolved. The gentle stirring helps to determine whether there is any undissolved sugar left. You can also scoop a little out (like I did) to check what’s on the spoon.
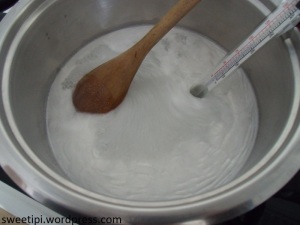
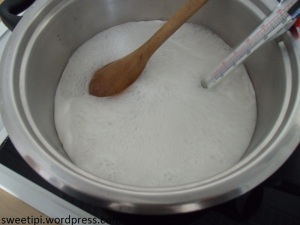
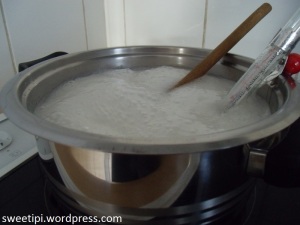
- When the mixture starts to boil, stop stirring. Leave the boiling mixture to cook for 13 minutes without stirring. It will bubble and froth, rising up quite high in the pot (see the 3rd photo below). It doesn’t thicken. (Nigella says heat till it thickens, but it really doesn’t.) At 13 minutes, my candy thermometer was just under 120C (the recipes don’t use a thermometer, only time, so I thought I’d check).
- After 13 minutes, take the pot off the heat and add the coconut.
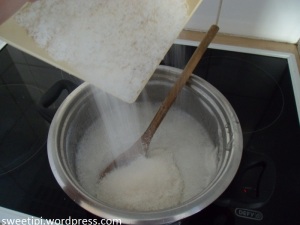
- Beat the mixture quite vigorously with the wooden spoon for about 5 minutes, until it thickens. Note that it’s not very thick when ready, it just doesn’t drip off the spoon easily.

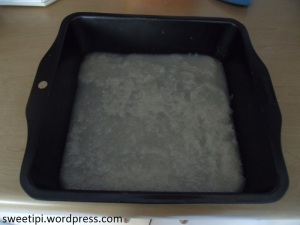
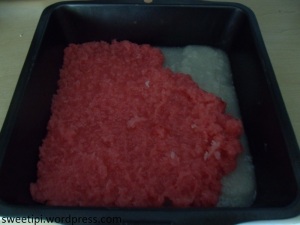
- Pour half the mixture into the prepared tin and spread out evenly.
- Add about 3-5 drops of pink food colouring to the remaining mixture in the pot and stir through quickly. Again, I emphasise the 3-5 drops for a light pink ice. I put in just about half a lidfull (is that a word?) of a small bottle of colouring and it still came out darker than I really wanted. Not a real problem, but still.
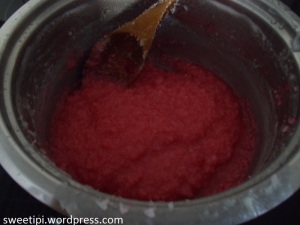
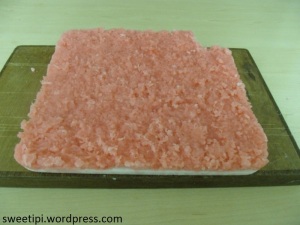
- Pour the pink ice on top of the white in the baking tin, and spread evenly.
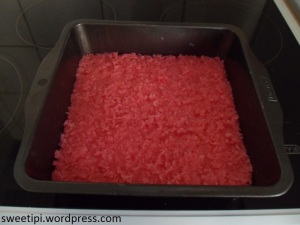
- Leave to set until cold. (I left mine for 2.5 hours – while I updated the blog – and it was fine.)
- When cold, turn out. (This will be easy if you sprayed the tin sufficiently, it just slides out.) Interestingly, it didn’t look quite as bright pink anymore, but is still a little pinker than planned (shop versions are really pale).
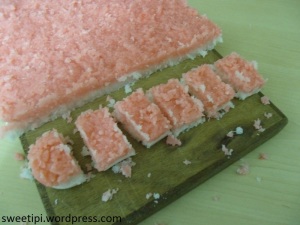
- Using a sharp knife, cut into 5 bars about 4cm wide. Cut each bar into pieces, as wide as is your preference. It’s pretty sweet (and sweetly pretty!) so I cut mine about 2.5cm wide. (Not that accurately though, which is how I ended up with a rather odd number of pieces – 45.)
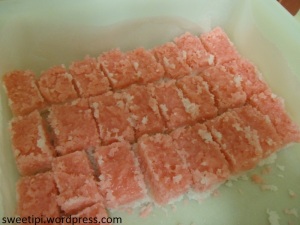
- Voila! Coconut ice – really nice, really sweet, really simple.
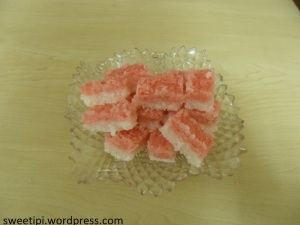
- Store in an airtight container (or wrap individually in cellophone paper, if you have time and a good reason to. I didn’t.)


Reblogged this on discoveringoniqueyasmin's Blog and commented:
I think this is really easy to make, and although I haven’t tried it yet due to anorexia being strong, my family LOVE it!!!
Glad it’s a hit! I found the other recipe (https://sweetipi.wordpress.com/2013/12/30/coconut-nicer/) worked better for me, but this one was gobbled up equally quickly. Your family must be just like mine in terms of sweet teeth 🙂
Pingback: Coconut (N)ice(r) | Sweeti Pi·
N}ice!